Navigate to WP Dashboard > Products.
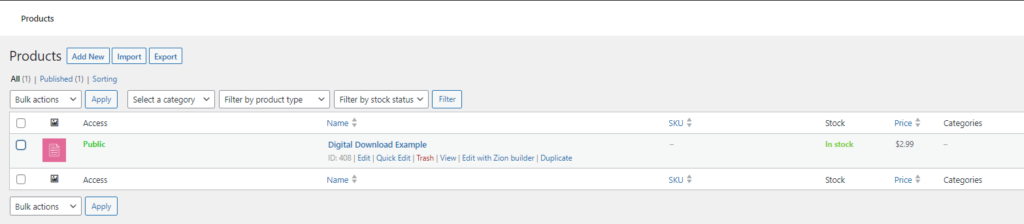
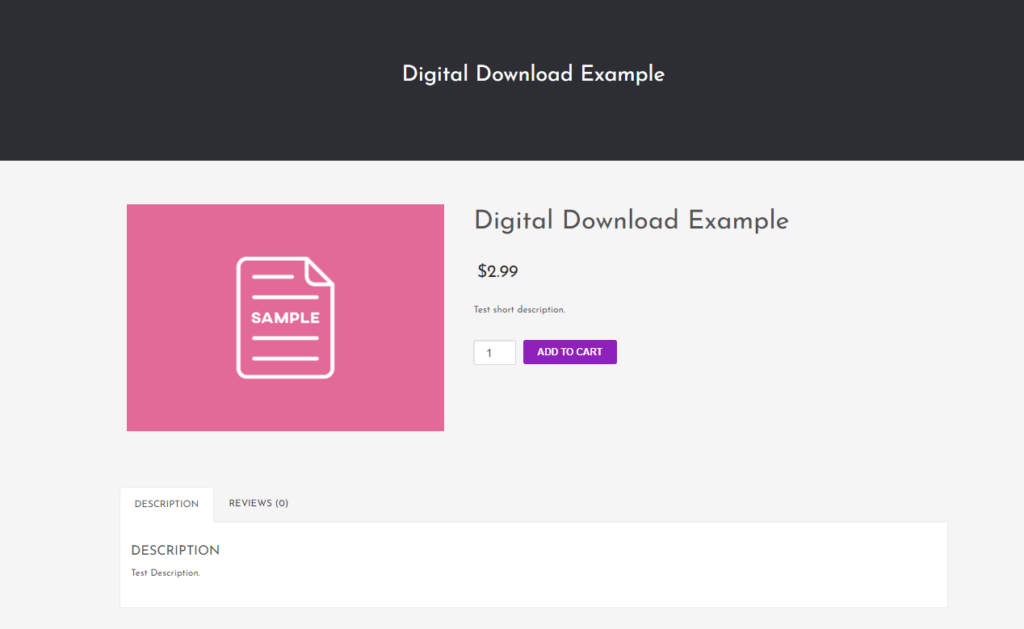
To see the layout of the items in the store before adding another, hover over the Example and press view.
Once ready to create a new item, click the “Add New’ button on the original product page.
Type a product name.
The first description area is for the longer description of an item, if you need help with this, reach out to Kaevyn for her content copyright skills and branding assistance.
The Short description area is for a brief description of the item, which should ideally be 1 or 2 sentences max.
Under Product Data:
For digital downloads, like ebooks or pdfs, be sure to click both virtual and downloadable.

Set the item price or sale price if any.
Add the downloadable file by pressing the Add File button.
To Upload file, in a new tab, open the MP Downloads tab (located on the Dashboards left-hand side).
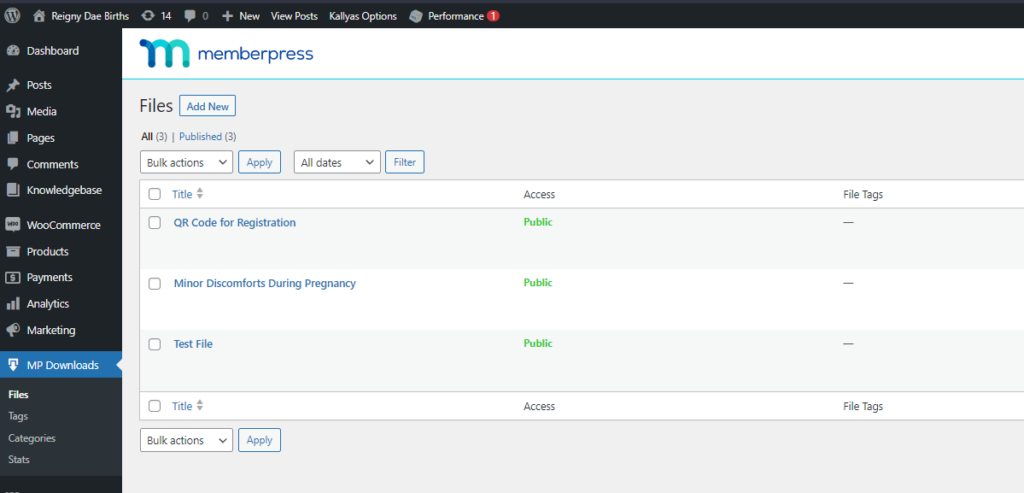
Click Add New.
Input the File Name in the section provided.
Upload the File you want, making sure it’s named properly on your PC, as that is the name of the file the customers will see.
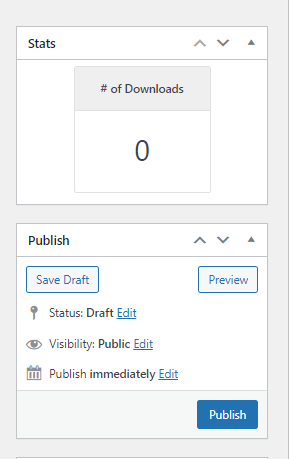
Once all data has been input, press the publish button on the right-hand side of the screen.
Under the file name, youll see the link to the file, copy that and switch back to the New Product Page.
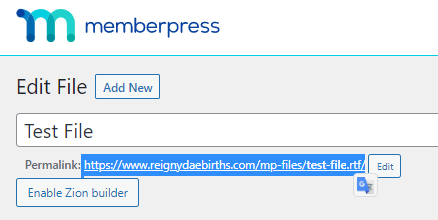
Input the File Name again, and paste in the link into the provided URL section.

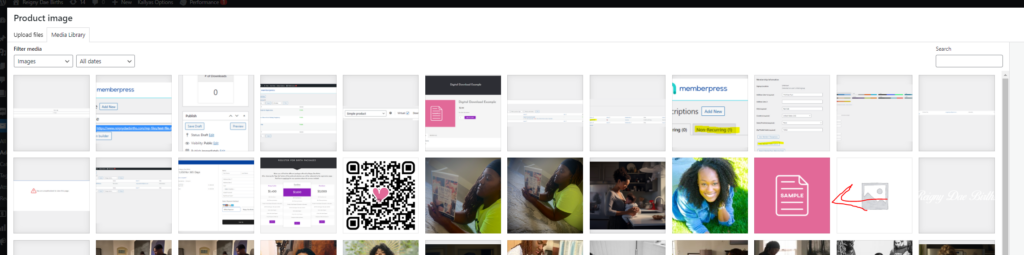
On the right-hand side of the screen, you’ll see options to add a Product Image, Click there, and select the pink sample thumbnail. If you’d like a custom text there instead of ‘sample’, ask Christian and he will provide that for you.
Feel free to add a category and tags for the item. Tags help people with adding search terms to find the item easier, categories do the same however are more broad grouping terms.
Lastly, for Page Options make sure the settings mirror the image below
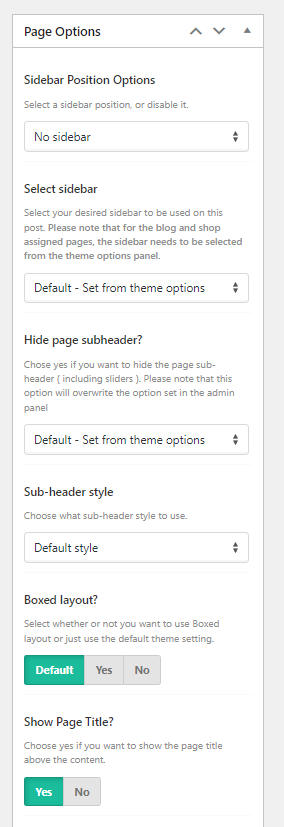
Once finished be sure to click publish and the item will save and then be available to be purchased from the store.